Driver Installation
This section is not required reading. It is only used when the ESP32 main control board cannot be recognized by the computer. If it is already recognized, you can skip it directly!!! (Note: If the ESP32 main control board cannot be recognized in the Arduino, Mixly, or KidsBlock (Scratch) tutorials, first check whether the ESP32 main control board is properly connected, and try connecting it to other USB ports on the computer to test again. If it still does not work, then proceed with the following driver installation steps.)
1. Installing the Driver on Windows
Driver download for Windows 10 and above: Windows Driver - Click to download
Driver download for Windows 7: Windows 7 Driver - Click to download
-
Connect the ESP32 main control board to the computer:
-
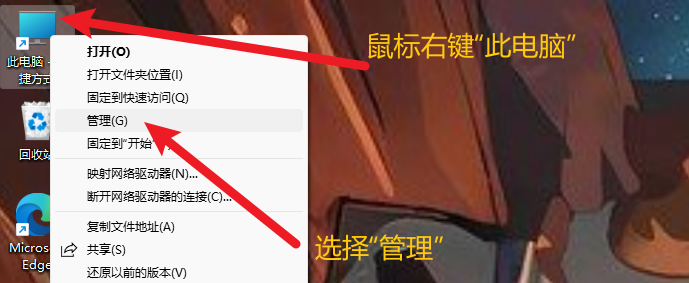
Open "Device Manager"
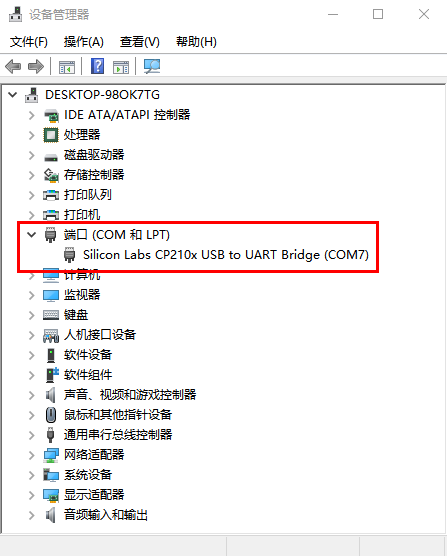
- Check whether the driver is installed.
Case 1: The driver installation is complete. Please skip the driver installation tutorial and proceed to the next step of learning.
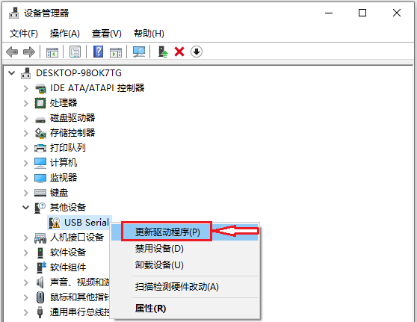
Case 2: The driver is not installed. Please follow the installation tutorial below to manually install the driver. (1) Right-click "USB Serial", select "Update driver (P)" and click it.
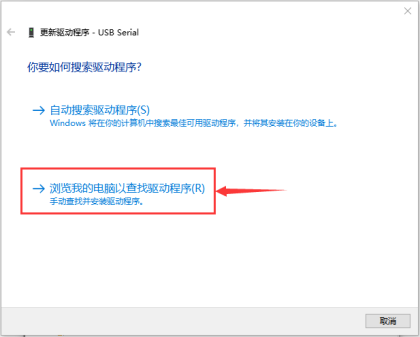
(2) Jump to the following page, select "Browse my computer for drivers (R)" and click it.
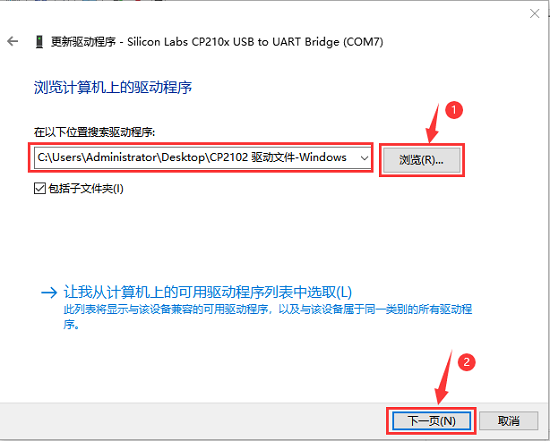
(3) Go back to the beginning to download the Windows CP2102 driver, copy the driver files to the computer desktop , then extract the downloaded driver archive, then click "Browse (R)...", select the driver for the CP210X series chip (i.e., the folder obtained after extraction), and finally click "Next". The location is as follows
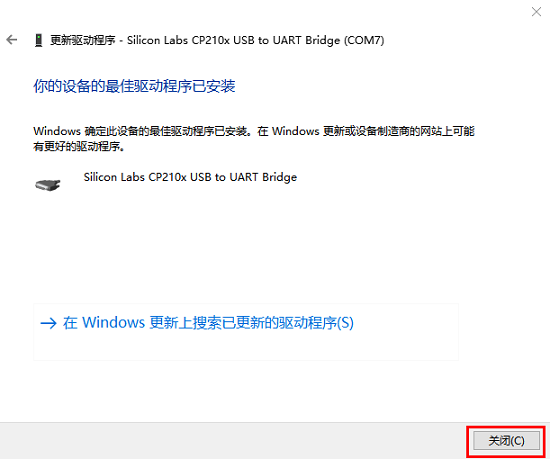
(4). If the interface displays a message similar to the following, it proves that the driver installation is successful. Click "Close".
(5). After the driver installation is complete, select the "Ports" option. The yellow exclamation mark on the USB disappears, proving that the driver installation is complete.
2. Installing the Driver on Mac
(Note: If the driver has already been installed, you do not need to install it again; if not, you need to perform the following operations.) (1) Use a USB cable to connect the ESP32 mainboard to your MacOS computer.
(2) CP2102 driver download link: CP2102 driver download
(3) Extract the downloaded archive.
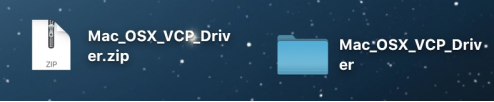
(4) Open the folder and double-click the "SiLabsUSBDriverDisk.dmg" file.
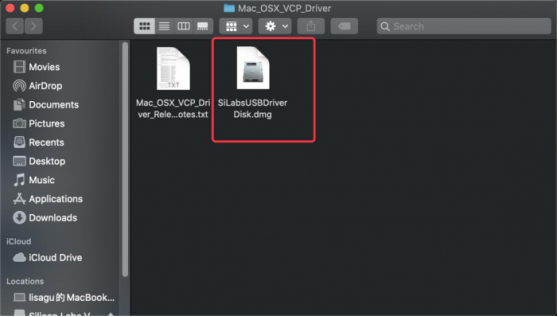
You can see the following files.
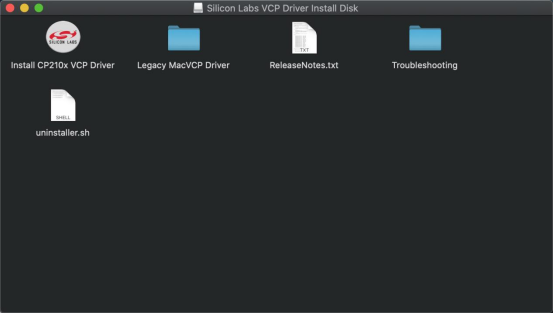
(5) Double-click "Install CP210x VCP Driver", check "Don't warn me when opening application on this disk image", and click "Open".
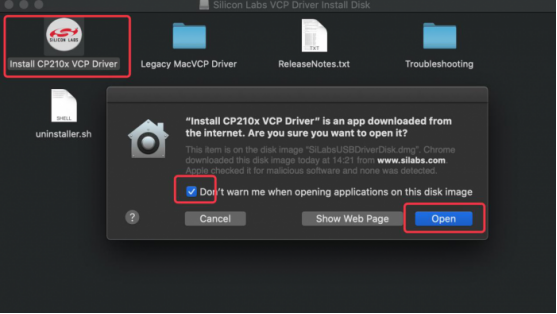
(6) Click "Continue".
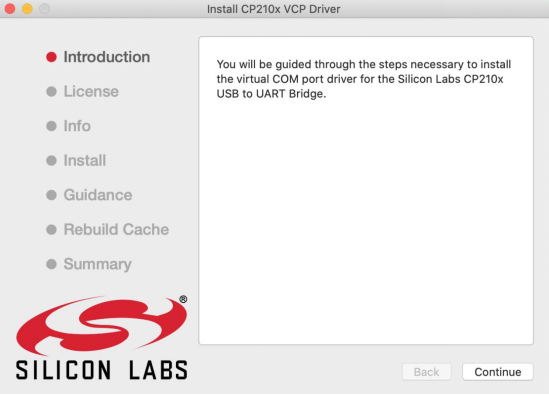
(7) First click "Agree", then click "Continue".
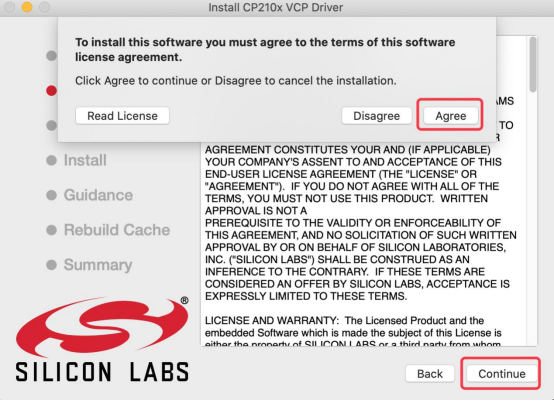
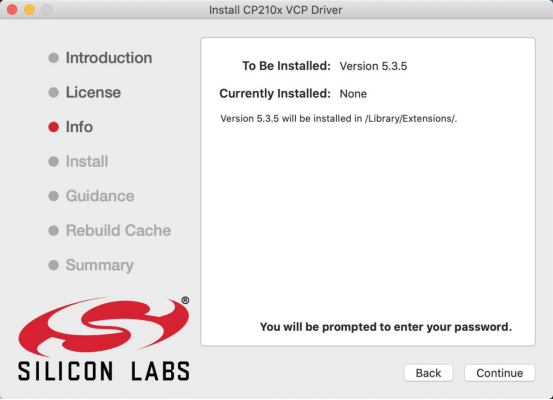
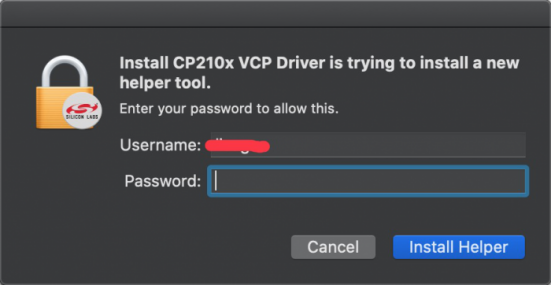
(8) Continue clicking "Continue", then enter your user password.
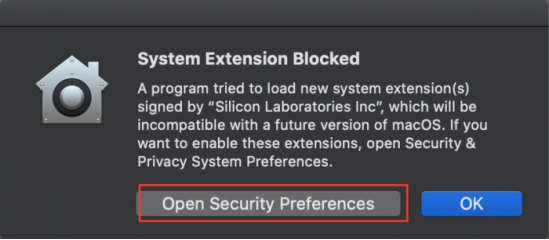
(9) Select "Open Security Preferences".
(10) Click the security lock and enter your user password to authorize. (The unlock password used to enter the desktop when the computer starts up)
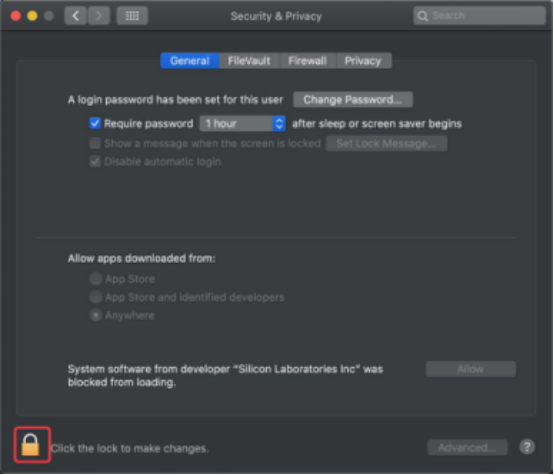
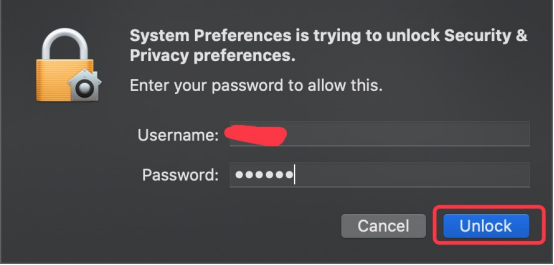
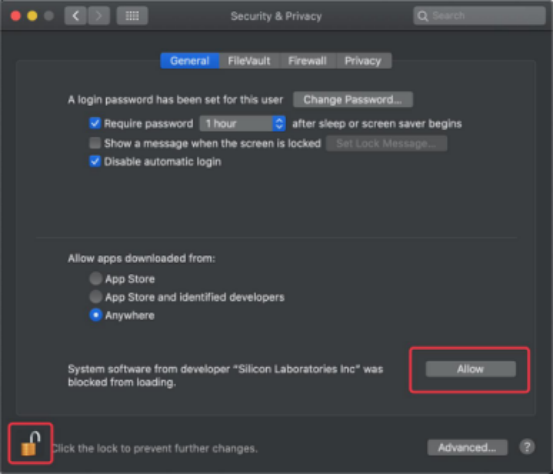
(11) When you see the lock is opened, click "Allow".
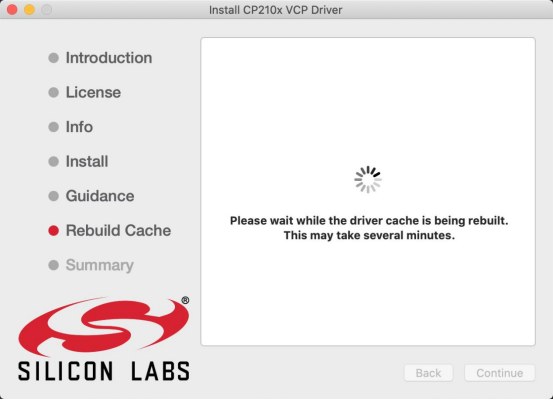
(12) Return to the installation interface and wait for the installation according to the prompts.
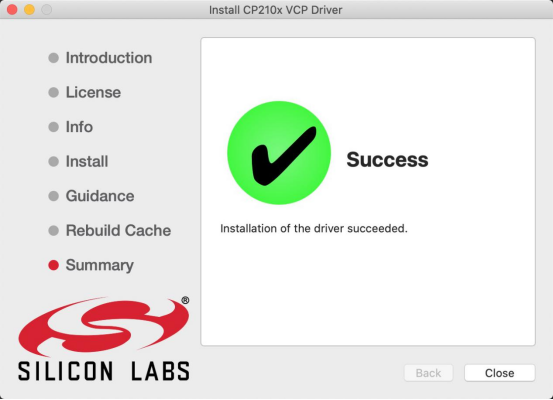
(13) Installation successful